


Sidekick Open Source is finally ready! Here is how you can start using it in 5 minutes.
Sidekick is a live application debugger that lets you troubleshoot your applications while they keep on running.
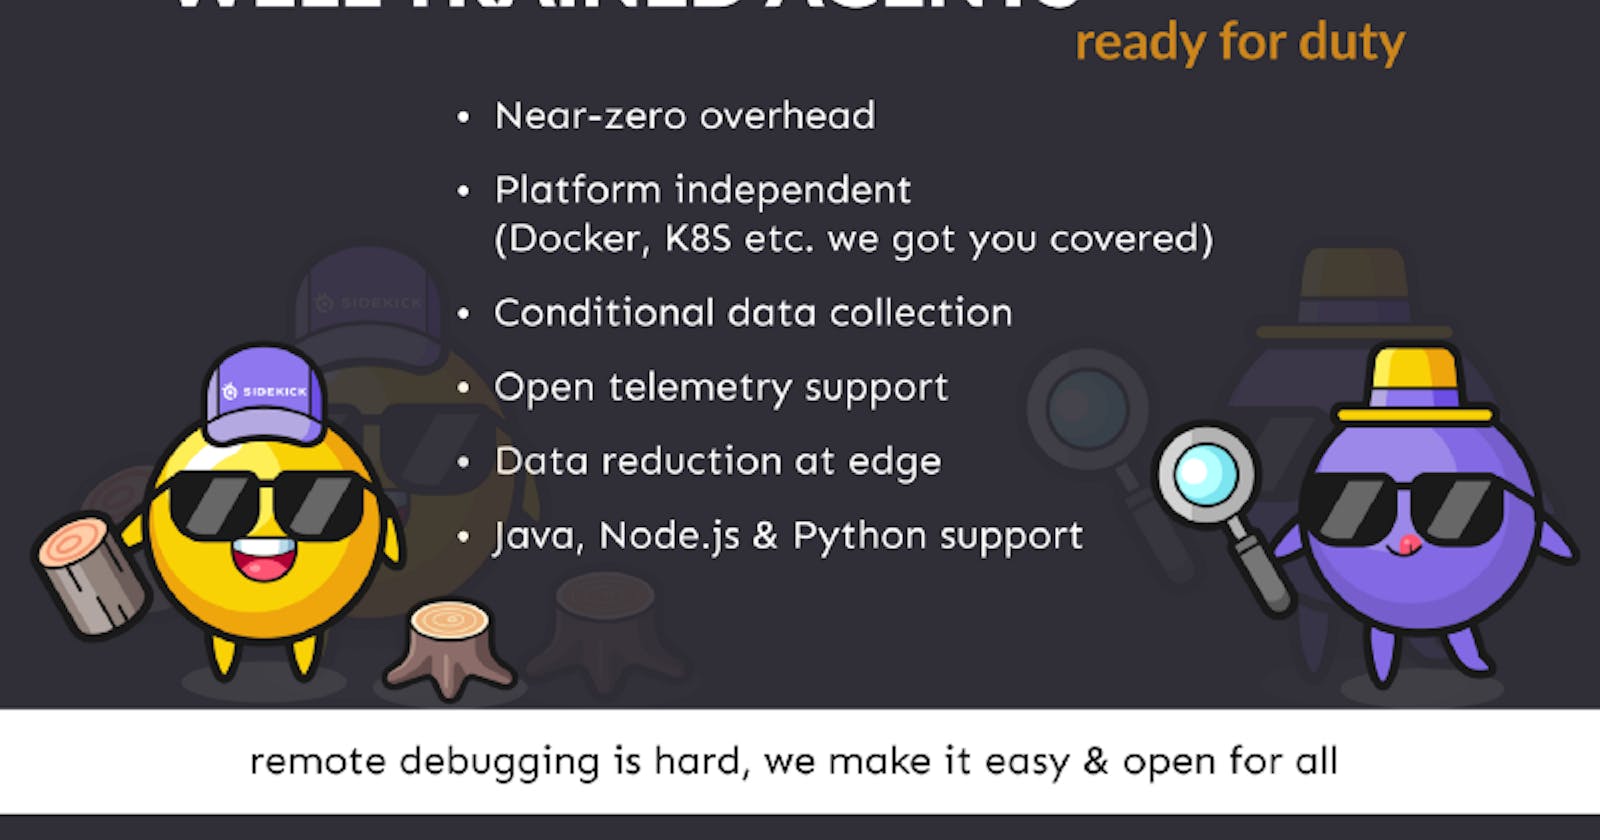
meet our agents!
Sidekick Open Source is here to allow self-hosting and make live debugging more accessible. Built for everyone who needs extra information from their running applications.
Sidekick Open Source Github repo: (don’t forget to star it ⭐)
[GitHub - runsidekick/sidekick: Free and open-source live application debugger. Like chrome dev…
Sidekick is a live application debugger that lets you troubleshoot your applications while they keep on running. Add…github.com](https://github.com/runsidekick/sidekick "github.com/runsidekick/sidekick")
Sidekick Open-Source Quickstart
We have prepared a simple project to show how you can start live debugging using a self-hosted Sidekick instance in just 5 minutes.
Prerequisites
- Docker
Make sure docker daemon is running.
- npm
npm install npm@latest -g
- Visual Studio Code
(Note: Sidekick has many other clients. Check out our headless options if you don’t want to install a new IDE : https://docs.runsidekick.com/headless/ )
Installation
Running Sidekick with default settings
1. Clone the Sidekick repo
git clone https://github.com/runsidekick/sidekick.git
2. Go to the docker folder under the project
3. Run command `docker-compose up -d` and wait for a minute
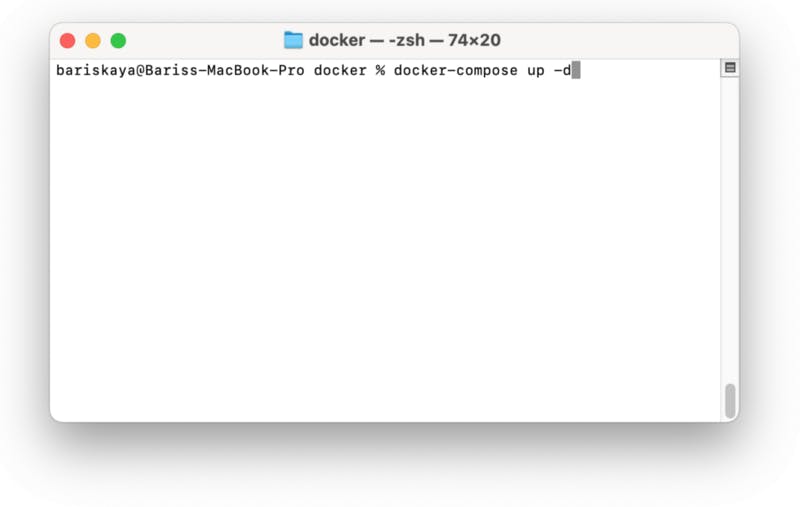
Your Sidekick instance is ready
Running Quickstart Project
1. Clone the Quicstart Application repo
git clone https://github.com/boroskoyo/sidekick-nodejs-quickstart.git
2. Install NPM packages
npm install
3. Run!
npm start
Now you have your self-hosted Sidekick instance and Quickstart application up and running.
It is time to use a client to put tracepoints and collect data from Quickstart application.
And live debugging for all!
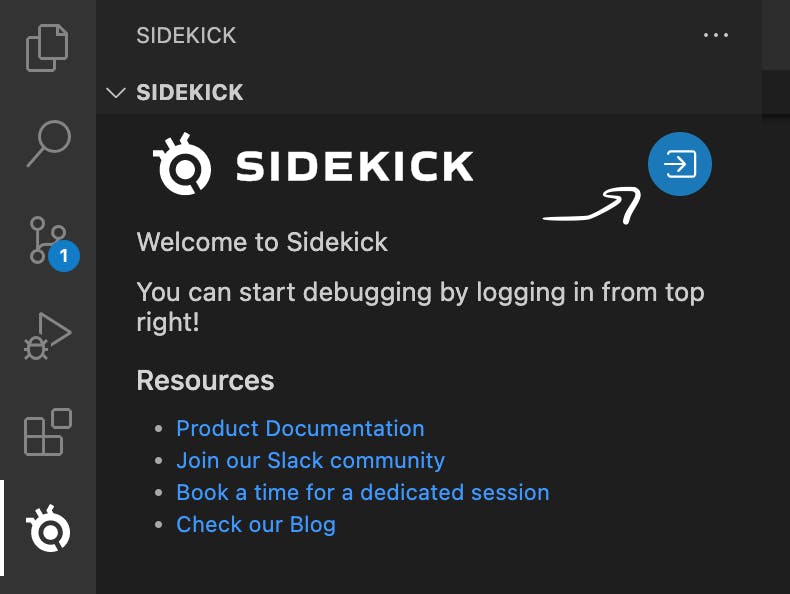
1. Install Sidekick Extension form the VSCode marketplace:

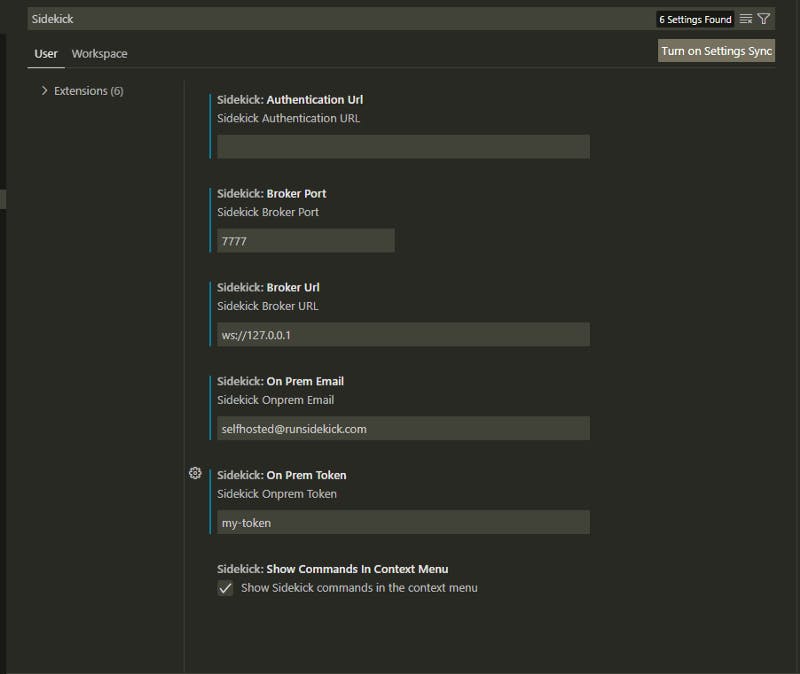
2. Open the folder of Quickstart application at VSCode
- .vscode folder in this repo should set the config for you. If you have any issues just check the instructions here: https://docs.runsidekick.com/plugins/visual-studio-code-extension-python-and-node.js/self-hosted-settings
4. Now login using Sidekick plugin
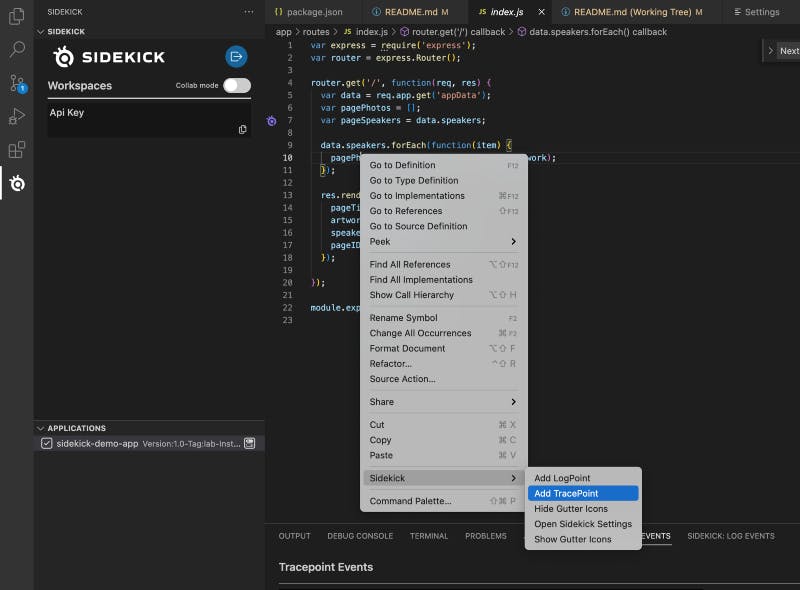
5. Head to the Sidekick: Trace Events panel to enable it

6. Right click on 10th line on app/routes/index.js and put your first tracepoint. Check docs for extra info: https://docs.runsidekick.com/plugins/visual-studio-code-extension-python-and-node.js/tracepoints-and-logpoints
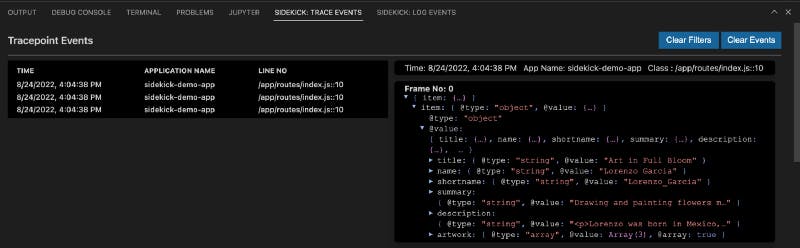
7. Visit http://localhost:3000/ to trigger your tracepoint.
8. Observe your collected trace events at VSCode Sidekick: Trace Events panel!
That’s it!
That is all you need to start using Sidekick Open Source.
Happy debugging y’all!